
Last Updated: November 4, 2026
Quick Summary
To improve spatial awareness while driving, practice low-speed drills that build distance judgment, vehicle position sense, and visual scanning: set your seat and mirrors first, then use reference points on your hood and mirrors to judge gaps, and repeat parking and lane-position exercises until they feel consistent. Run these drills in an empty lot with a supervising coach before moving to quiet streets.
- Spatial awareness fails new drivers because the skill is learned, not instinctive.
- Fix your seat and mirrors before every drive so reference points stay reliable.
- Reference points are personal and change with your height, seat position, and vehicle shape.
- Practice drills at creeping pace and correct with small steering moves, not big ones.
- Backup cameras and sensors supplement direct observation but do not replace scanning mirrors and corners.
Table of Contents
- Why Spatial Awareness Fails New Drivers (and How to Fix It)
- Set Up Your Seat and Mirrors Before You Move
- How to Judge Car Distance While Driving
- Car Positioning Practice for New Drivers
- Parking Practice Drills for New Drivers
- Take a Spatial Awareness Test for Driving
- Build a Progressive Practice Plan With Your Coach
- Start Your First Guided Practice Session
- Frequently Asked Questions
Why Spatial Awareness Fails New Drivers (and How to Fix It)
Spatial awareness is the ability to judge where your car sits in relation to lanes, curbs, parked cars, and other traffic without staring at any one spot.
A new driver sits inside a machine wider and longer than it feels.
So judgment calls feel like guesses. And guesses make learners tense, which makes the guesses worse.
Below are seven drills that build spatial awareness while driving, step by step, from seat setup to parking lots to quiet streets. Each is supervised, low-speed, and repeatable.
The Three Skills Behind Every Judgment Call
Every spatial decision behind the wheel leans on three separate skills. Naming them helps you practice the right one.
- Distance judgment: knowing how far the bumper is from a curb, wall, or car ahead.
- Vehicle position sense: knowing where your tires sit inside the lane.
- Visual scanning: moving your eyes and mirrors to track what is moving around you.
Most learners assume they lack "talent." Usually they lack one of these three, and it shows in a specific habit: drifting right is a position problem, braking late is a distance problem, and being surprised by passing cars is a scanning problem.
Set Up Your Seat and Mirrors Before You Move
Spatial awareness starts before the engine turns over. A seat too low or too far back shrinks your field of view and hides the reference points you need. Fix the setup first, every time.
Run this pre-drive checklist with your coach:
- Seat height: you can see the road over the wheel, not through it
- Seat distance: a slight bend in the knee with the brake pressed fully
- Seatback: upright enough that your shoulders touch the seat
Mirror adjustment matters more than most learners think.
If this is your first session, get the full plan for a first supervised drive before adding drills.
How to Judge Car Distance While Driving
Judging distance from the driver's seat comes down to reference points: fixed spots on your car that line up with fixed spots on the road. Your brain learns the relationship through repetition, not theory.
Here is a common method for practicing distance judgment, in order:
- Park in an empty lot with a visible line or curb.
- Pull up until your front bumper is a comfortable distance from the line.
- Look at where the line crosses your hood or windshield base. That is your front reference point.
- Get out and check the actual gap. Adjust your mental note.
- Repeat five times, approaching from a different angle each time.
Do the same for the rear using your mirrors, and for the sides using the curb beside your door.
Reference Points You Can See From the Driver's Seat
Reference points are personal. They change with your height, seat position, and the car's shape.
That is why generic advice like "line up the mirror with the curb" fails so often. The mirror is in a different place for every driver.
Build your own set instead.
Once the points are set, distance judgment stops being a guess and becomes a lookup.
Car Positioning Practice for New Drivers
Lane position is the skill learners notice first because everyone else can see it.
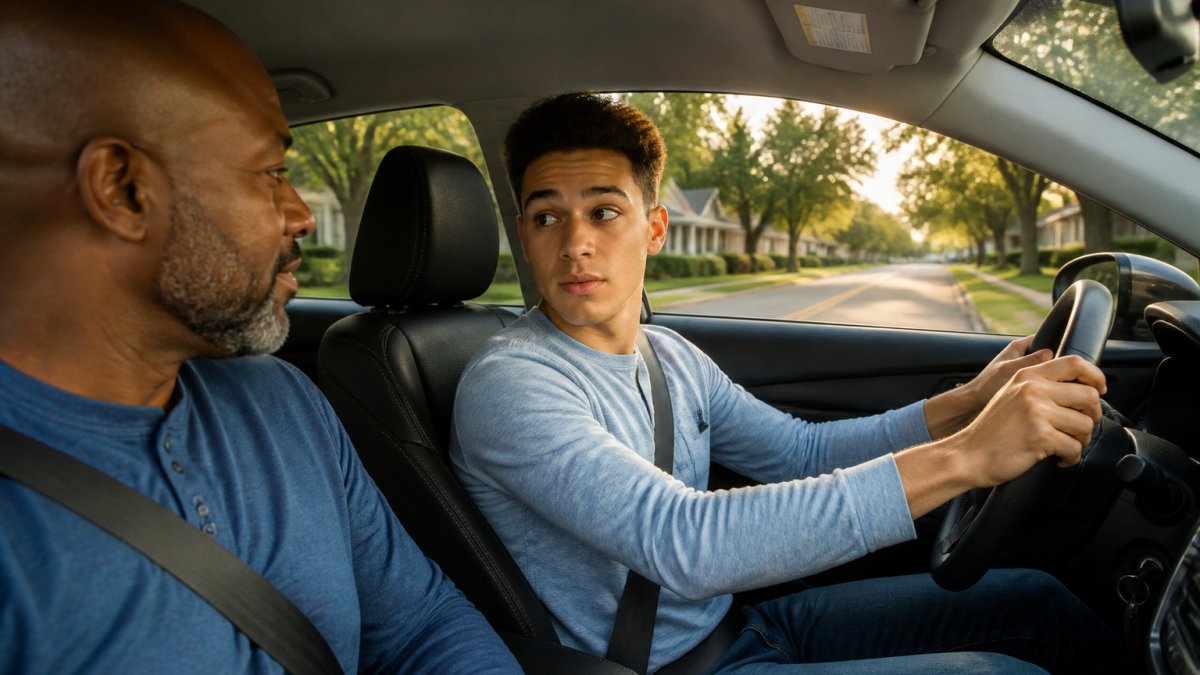
Try this progression on a quiet street or empty lot:
- Center the car: pick a long straight line, park centered on it, then pull forward slowly and hold the position.
- Edge awareness: approach a painted line on your right and stop with your tire a hand's width away.
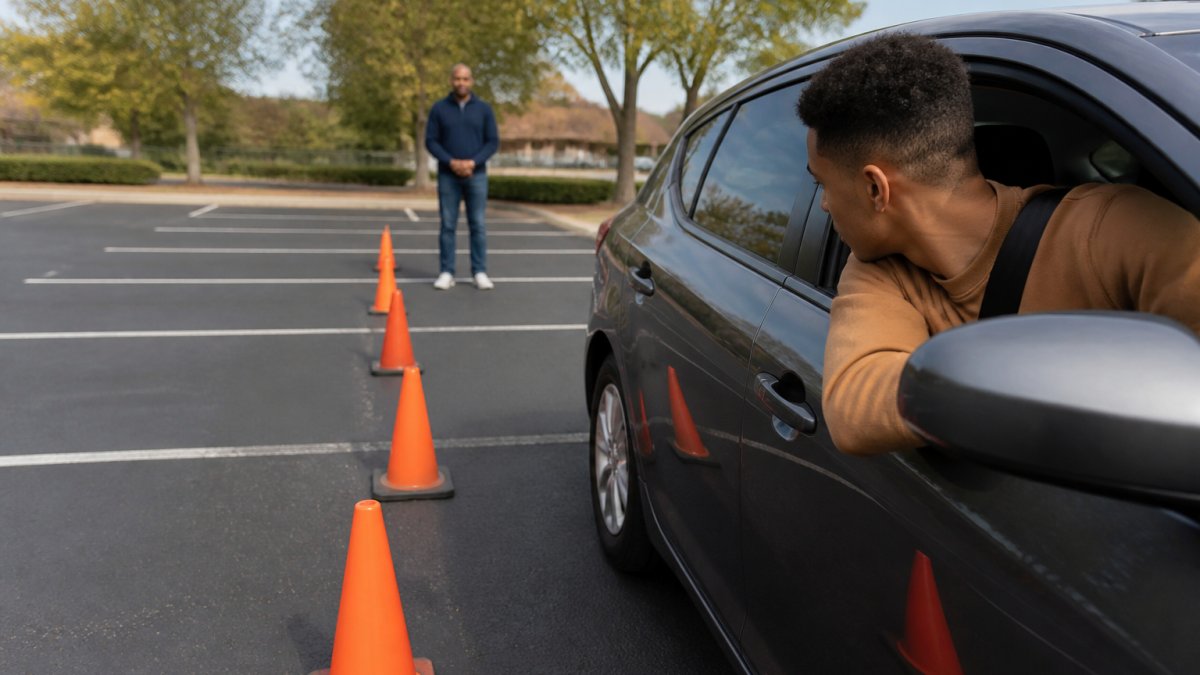
- Width check: drive between two rows of cones or water bottles set slightly wider than the car.
Keep speeds low. This is a feel drill, not a speed drill.
A calm coach in the passenger seat can help here. Resist grabbing the wheel; instead, ask the learner to describe where the car is before you correct anything.
For more behind-the-wheel ideas beyond this drill, ask a qualified driving instructor for guidance tailored to your learner.
Parking Practice Drills for New Drivers
Parking exposes every spatial weakness at once: width, length, distance, and turning radius. That is why it feels harder than driving. Break it into pieces and it becomes manageable.
Try the Free First Drive Kit →
Start with these drills, easiest first:
- Pull-through parking: drive straight into an empty space and stop centered. Repeat until the car lands square every time.
- Back-in parking: use the space's far line as a reference, turn slowly, and correct in small steps.
- Parallel parking against a curb: practice with no car behind you first, then add one.
Two habits separate learners who improve fast from those who stall:
- Go slow. Creeping pace gives your eyes time to process.
- Fix in small moves. Big steering corrections overshoot. Nudge, check, nudge.
Parking Technology Helps, but It Does Not See Everything
Backup cameras, parking sensors, and blind-spot alerts supplement direct observation; they do not replace it. Learners often fixate on the screen and stop scanning the corners, mirrors, and the space beside the car. Treat the camera as one more mirror: glance, then look up and around.
Different Vehicles, Different Sightlines
A sedan, an SUV, and a pickup truck do not park the same way. A pickup's long hood hides more ground in front, so its front reference point sits farther out. An SUV's high seat gives a better view over the hood but a taller rear window that changes what the backup camera shows. A small sedan turns tighter but sits lower, so curbs disappear sooner.
When Conditions Make Parking Harder
Darkness, rain, and glare all shrink the visual cues you rely on. At night, painted lines fade and the camera image gets grainy. In rain, reflections on wet pavement can hide a curb line. Low sun through the rear window can wash out the camera screen. In these conditions, slow down further, roll down a window to listen, and if the space feels uncertain, get out and look before you commit.
Take a Spatial Awareness Test for Driving
A spatial awareness test for driving is a set of simple exercises that reveal which judgments are weak, so practice targets the right skill. It is not a pass-or-fail exam and does not prove readiness for a license.
Try these four checks in an empty lot with your coach:
- Stop-line test: approach a painted line and stop with the bumper at a set distance. Get out and measure the error.
- Curb test: pull alongside a curb and stop with your tires at a consistent gap. Check from the mirror.
- Gap test: drive between two markers set just wider than the car. Count any touches.
- Mirror test: have your coach stand at various points behind and beside the car. Call out where you see them.
Score each one honestly and repeat the same tests two weeks later. Improvement in the numbers is one useful signal to track.
A Progressive Plan for the Tests
Isolated checks tell you where you are today; a staged plan tells you what to practice next. Run the tests in this order and repeat a stage until it is boringly consistent before moving on:
- Stage 1, Parked car: seat and mirror setup, then the mirror test with the car off. Success looks like calling out your coach's position correctly every time.
- Stage 2, Empty lot, straight lines: stop-line and curb tests at low speed. Success looks like consistent gaps within a small margin across five attempts.
- Stage 3, Empty lot, turns and gaps: gap test and back-in parking. Success looks like no touches and square stops.
Safe Reference-Point Exercises for Your Specific Vehicle
Generic advice like "line up the mirror with the curb" fails because every vehicle and driver sits differently. Build your own reference points with cones or water bottles in an empty lot, with a supervising driver present:
- Front edge: place a cone ahead of the bumper. Pull up until the cone disappears under the hood, then get out and note the actual gap. Repeat from three approach angles.
- Rear edge: place a cone behind the car. Use the backup camera and mirrors to stop at a set gap, then check the real distance.
- Side edges: place cones beside the front and rear tires. Note where each cone appears from the driver's seat and in the side mirror.
Write the results down. These are your personal reference points, and they change when you switch vehicles or move the seat.
When to Seek Professional Assessment
Most learners improve with supervised repetition. But some patterns deserve a second look. Consider a session with a qualified driving instructor if difficulty persists after several weeks of structured practice, if the learner consistently misjudges the same side of the car, or if spatial errors appear alongside sudden changes such as new vision problems, dizziness, or confusion.
LearnerMiles offers a digital practice log for tracking progress between sessions.
Build a Progressive Practice Plan With Your Coach
Spatial skills build in layers, so the practice plan should too. Random sessions in random places produce slow progress. A sequence produces fast progress.
Here is a progression that works for most learners:
| Stage | Focus | Where | What Success Looks Like |
|---|---|---|---|
| 1 | Seat, mirrors, controls | Parked car, driveway | Setup checklist done without prompting |
| 2 | Reference points | Empty lot | Consistent stop distances |
| 3 | Lane position | Quiet residential street | Holds center for a full block |
| 4 | Parking drills | Empty lot with lines | Square pull-in, clean back-in |
| 5 | Passing parked cars | Low-traffic street | Steady gap, no drift |
| 6 | Mirrors and blind spots | Any road | Coach confirms no surprises |
| 7 | Narrow roads and gaps | Quiet routes | Smooth, unhurried passes |
Two rules keep the plan honest. First, repeat a stage until it is boringly consistent, not until it works once. Second, change only one variable at a time, such as adding traffic or narrowing the gap.
Parents who want a fuller structure for organizing sessions can look for guidance on structured driving practice from their local licensing authority or a qualified driving instructor. If you would rather follow a ready-made sequence, the LearnerMiles guided practice membership lays out ten progressive behind-the-wheel lessons, and the LearnerMiles books and printables give you reference-point worksheets you can fill in for each vehicle.
Start Your First Guided Practice Session
Confidence comes from repetition with feedback, not from talent. Run the drills, score the tests, and let the numbers tell you when to move up a stage.
LearnerMiles supports that process with a coach-learner agreement for setting expectations, ten progressive behind-the-wheel lessons, pre-drive checks, and a digital practice log that records what you worked on. Optional professional guidance is available through LearnerMiles. We are an independent educational guide, not a licensing authority, so always confirm local rules with your local licensing authority.
If you want the full sequence, explore the guided lessons and the digital practice log at learnermiles.com.
Frequently Asked Questions
How can I improve my spatial awareness while driving?
Practice in low-pressure settings first. Adjust your seat and mirrors before every session, then use reference points like the curb or lane markings to judge where your car sits. Try parking drills in an empty lot, practice judging distance from parked cars, and ask a coach to give calm feedback. Short, repeated sessions build spatial awareness faster than one long drive.
What is the 1/2/3 rule in driving?
The 1/2/3 rule is a following-distance guideline many driving coaches use. It suggests staying at least one second behind a vehicle at low speeds, two seconds at moderate speeds, and three seconds at highway speeds. To check, pick a fixed object ahead and count how long it takes your car to reach it after the vehicle in front passes. Conditions like rain or low visibility call for extra space.
Can poor spatial awareness affect my driving test?
Yes. Spatial awareness affects parking, lane position, and judging gaps in traffic, all of which examiners watch closely. If you struggle to judge distance, practice specific drills like curb parking and passing parked cars before test day. A spatial awareness test for driving can help you spot weak areas. Remember that passing a road test depends on demonstrated skill, not just confidence, so focus on consistent practice with a coach.
What exercises help with judging distance when driving?
Try these at home or in a parked car: estimate the distance to a curb or object, then check it on foot. In an empty lot, practice pulling up to a cone or line and getting out to see how close you actually are. Parking practice drills for new drivers, like parallel parking between cones, sharpen depth perception. Repeat these weekly and log what you learn with your coach.
Ready to stop guessing and start practicing with a plan? Get the free First Drive Kit, then explore the LearnerMiles plans when you want the full ten-lesson sequence and the digital practice log.
