
Last Updated: October 25, 2026
Quick Summary
A pre-drive checklist is a short, ordered set of checks covering the car's condition, the space around it, and your own setup. Walk around the car first, then check tires, lights, and fluids, and finally adjust your seat, mirrors, and seatbelt before turning the key.
- Walk a full loop around the car to spot people, pets, debris, and fluid leaks.
- Use the penny test to check tread depth on all four tires.
- Check tire pressure when tires are cold, using the door-jamb label.
- Have a coach watch brake lights and signals while you test each one.
- A dashboard light that stays on after the bulb check means stop and check the manual.
Table of Contents
- Why a Pre-Drive Checklist Matters Before Every Practice Session
- The Beginner Driving Lesson Checklist: What to Do Before You Turn the Key
- How to Adjust Car Mirrors and Seat for Clear Visibility
- The Vehicle Safety Checklist Before Driving: Dashboard and Controls
- What to Do When a Pre-Drive Check Fails
- Weather and Trip Adjustments for Your Pre-Drive Checklist for New Drivers
- Build a Pre-Drive Routine With LearnerMiles
- Frequently Asked Questions
Why a Pre-Drive Checklist Matters Before Every Practice Session
A pre-drive checklist is a short, ordered set of checks a driver completes before turning the key, covering the car's condition, the space around it, and the driver's own setup. A repeatable routine turns those risks into habits. It also gives a nervous learner something concrete to do, which calms the mind. Parents and coaches get a shared script too, so nobody has to guess what "ready" looks like.
The Beginner Driving Lesson Checklist: What to Do Before You Turn the Key
The beginner driving lesson checklist has three parts: an outside walk-around, a check of tires, lights, and fluids, then an inside setup. Do them in that order every time. The sequence matters. You spot problems from outside before you settle into the seat, and you adjust the cabin last so nothing gets knocked out of place. Below is a full routine we recommend for supervised practice, with a clear pass/fail for each item so you know when to continue and when to stop.
Step 1: Walk Around the Car
Start outside and walk a full loop around the vehicle. Look for people, pets, toys, bikes, and debris near the bumpers. Check the ground for fluid leaks under the engine and transmission. Scan the body for new damage, and confirm nothing blocks the doors or the path ahead. The walk-around takes under a minute and catches the things a driver can't see from the seat. If you're wondering what to practice on your first drive, start with controlled starts and stops in a permitted area.
Pass: no people or obstacles in the path, no fresh puddles or drips under the car, no new body damage that affects lights or doors. Fail: anything in the path, an active drip, or a light housing cracked or hanging.
Step 2: Check Tires, Lights, and Fluids
This is the step beginners rush, so slow it down. Each item below has a pass/fail so you are not guessing.
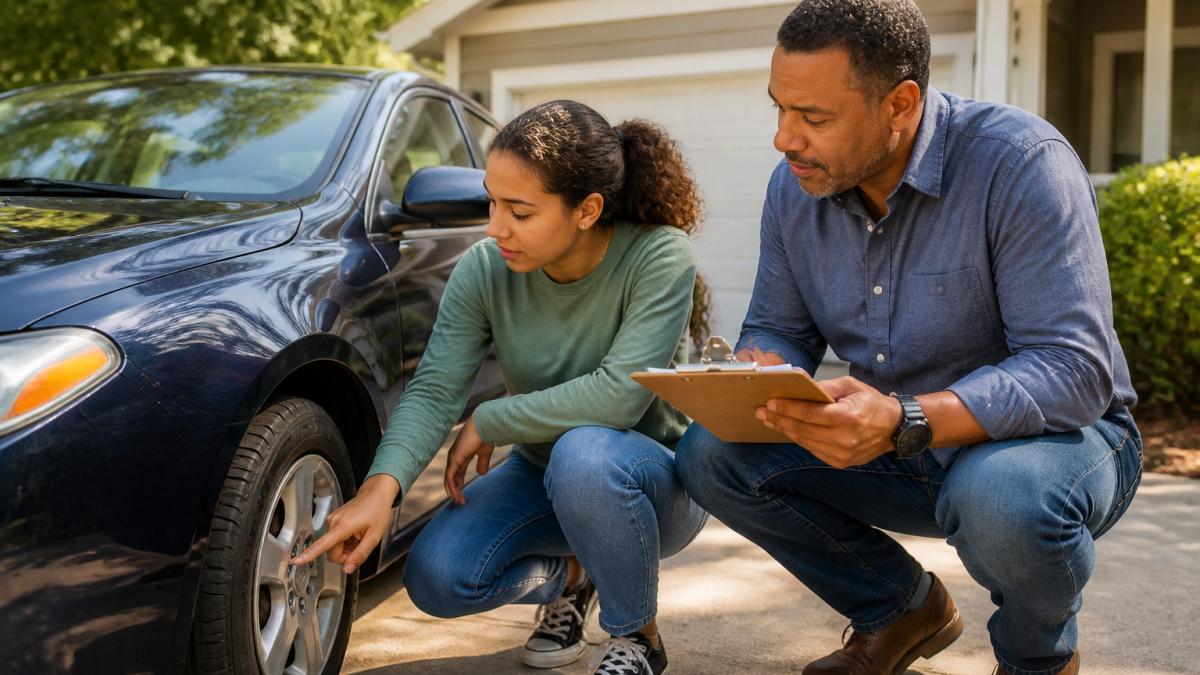
Tires, condition. Look at all four tires plus the spare if the vehicle has one. Check tread depth with the penny test: insert a penny into a tread groove, Lincoln's head down. If the top of his head is fully visible, the tread is worn and the tire needs professional attention. Look for sidewall cracks, bulges, and anything embedded in the rubber. Pass: tread above the penny threshold, no cracks or bulges. Fail: visible tread wear indicator bars, a bulge, or a puncture.
Tires, pressure. Check pressure when tires are cold, meaning the car has been parked for a few hours or driven less than a mile.
Lights. With a coach helping, turn on the headlights and check low beams, high beams, taillights, and license-plate light. Have the coach press the brake pedal while you watch the brake lights, then activate each turn signal and the hazard flashers. Pass: every light illuminates. Fail: any light out, dim, or flickering.
Wipers and washer fluid. Lift the wipers and look for torn or hardened rubber. Top up washer fluid using the reservoir cap marked with the windshield symbol. Pass: blades intact and fluid above the low mark. Fail: streaking blades or an empty reservoir.
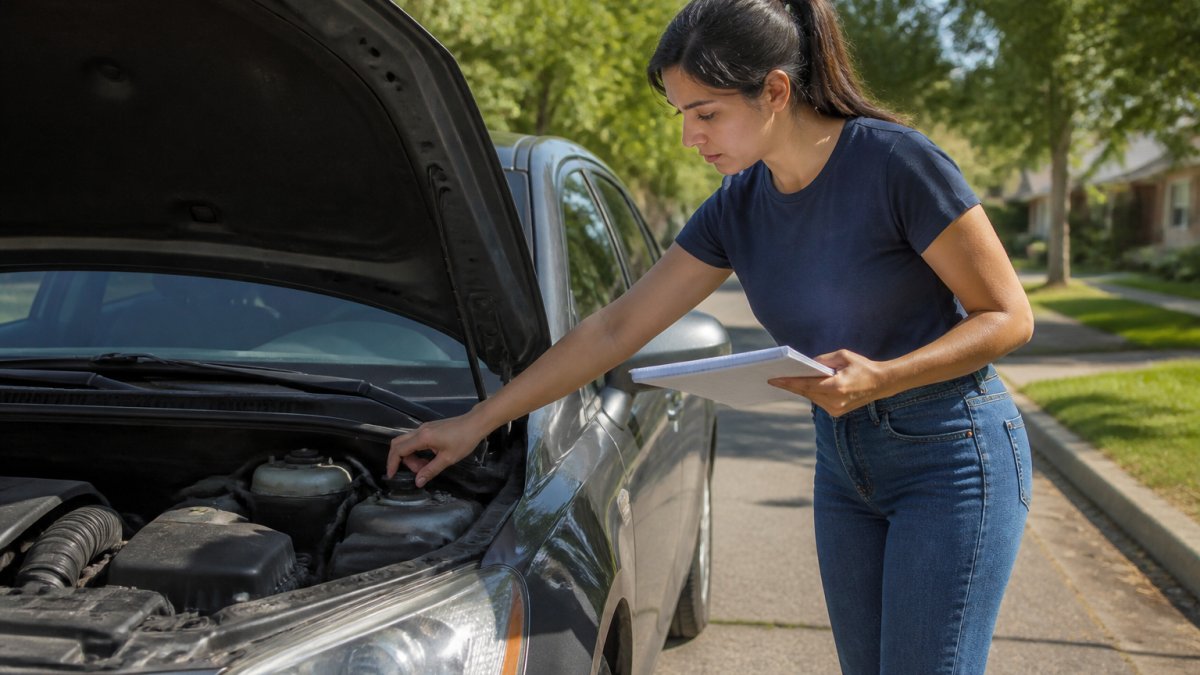
Fluids. Follow the owner's manual and check on level ground with the engine off unless the manual says otherwise.
Step 3: Get Inside and Adjust
Now sit down and set up. Adjust the seat so you can press the pedals fully and still bend your knees slightly. Set the head restraint so the top is level with the top of your head. Set the mirrors (the next section walks through the method). Fasten your seatbelt and confirm every passenger's safety restraints. Check that the gear selector is in Park or Neutral before you start the engine. Last, turn the key and watch the dashboard warning lights cycle, so you know what "normal" looks like.
| Check | Where | What "Pass" Looks Like | If It Fails |
|---|---|---|---|
| Walk-around | Outside | No people, obstacles, debris, or leaks | Clear the path or park; investigate drips |
| Tire condition | Outside | Tread above penny test, no cracks or bulges | Do not drive; get professional help |
| Tire pressure | Outside | Within a couple of psi of door-jamb label | Inflate to label or seek help if it keeps dropping |
| Lights | Outside | All lights and signals work | Replace bulbs or postpone the trip |
| Wipers and washer fluid | Outside | Blades intact, fluid topped up | Replace blades, refill reservoir |
| Fluids | Outside | All between min and max | Top up per manual or seek help |
| Seat and mirrors | Inside | Full pedal reach, clear visibility | Readjust before moving |
| Seatbelts | Inside | All fastened and adjusted | Fasten before moving |
| Dashboard | Inside | Warning lights cycle, then go out | A light that stays on means stop and check the manual |
How to Adjust Car Mirrors and Seat for Clear Visibility
Knowing how to adjust car mirrors and seat is the difference between seeing traffic and guessing at it. Set the seat first, because mirror angles depend on where your head sits. Then adjust the interior mirror to frame the whole rear window. For the side mirrors, lean your head toward the window and set the driver's mirror so you barely see the side of your own car. Lean the other way and set the passenger mirror the same way. This widens your view and shrinks blind spots. The National Highway Traffic Safety Administration's driver safety guidance is a solid reference for visibility basics.
The Vehicle Safety Checklist Before Driving: Dashboard and Controls
A vehicle safety checklist before driving should end with the dashboard and controls. Turn the key and watch the warning lights: most should flash briefly, then go out. A light that stays on needs attention before you drive. Next, test the controls you'll use in motion: the turn signal stalk, wipers, horn, and brake pedal feel. Confirm the fuel level. Check that your phone is stowed and any distractions are put away. A common mistake is skipping this step once the car "feels fine." Warning lights and soft brakes are exactly the problems that don't announce themselves.
What to Do When a Pre-Drive Check Fails
A failed check is not a disaster. It's the system working. But "stop and deal with it" is not enough guidance for a beginner, so here is a simple decision path.
Fix it yourself, then re-check. Some failures are simple and safe to resolve in the driveway: a low tire you can inflate to the door-jamb label, a washer fluid reservoir you can top up, a mirror knocked out of position, a seatbelt twisted in the guide.
Postpone the trip. If a safety item fails and you cannot resolve it confidently, do not drive.
Seek professional help. Anything you cannot identify, anything that repeats after a fix, and anything involving brakes, steering, tires, or warning lights that stay lit belongs with a qualified mechanic.
Handle the human side too. A beginner whose check goes wrong may feel anxious, embarrassed, or like they failed a test. That reaction is normal, and it is worth naming out loud with your coach. If the worry lingers, this guide on the best ways to reduce driving anxiety walks through staying calm step by step. The skill you are building is not "never find a problem"; it is "find the problem before it finds you." A learner who catches a low tire in the driveway has done the checklist exactly right.
Log what happened. Note the failed item, what you did about it, and whether it recurred. Patterns matter: the same warning light twice in a month, or a tire that needs air every week, is information a mechanic or your coach can use.
Weather and Trip Adjustments for Your Pre-Drive Checklist for New Drivers
A pre-drive checklist for new drivers should flex with the day. In rain, confirm wipers and washer fluid, and check tire tread more closely. In cold weather, clear all windows and mirrors fully before driving, and check that lights aren't snow-covered. On longer trips, add a walk-around at each stop and check fluid levels before you leave. None of this changes the core routine; it just adds a layer. Rules and requirements vary by jurisdiction, so for anything legal, check your local licensing authority.
Build a Pre-Drive Routine With LearnerMiles
The point of a pre-drive routine is repetition, and repetition is easier when it's tracked. LearnerMiles builds the pre-drive check into its guided lessons, so every practice session starts the same way. The digital practice log records what you checked and how it went, and the Calm-Car Agreement sets expectations between learner and coach before you start. If you're new to the platform, how to use LearnerMiles shows how enrollment, illustrated lessons, practice logs, and saved progress fit together.
Learning to drive calmly starts with knowing what to do before the key turns. LearnerMiles gives new drivers and their coaches a structured path: ten progressive lessons, pre-drive checks, a practice log, and confidence reflection, all in one place. Laws and licensing rules vary by jurisdiction, so always confirm requirements with your local licensing authority. Get started with LearnerMiles and turn a shaky first drive into a steady, repeatable routine. Download the free First Drive Kit to begin, and explore workbook membership when you're ready for more.
Frequently Asked Questions
What should beginners check on a car before driving?
Start outside: walk around the car to spot obstacles, people, or debris, then check tire condition and pressure, headlights, taillights, brake lights, turn signals, windshield, windows, mirrors, wipers, and washer fluid. Inside, adjust your seat and mirrors, fasten your seatbelt, confirm the dashboard warning lights behave normally, and test the brakes and controls. A written pre-drive checklist keeps the order consistent so nothing gets skipped under pressure.
How do you adjust your seat and mirrors before driving?
Sit with your back against the seat and set the distance so you can press the brake pedal fully with a slight bend in your knee. Adjust the seat height for a clear view over the wheel, then the headrest so it supports the middle of your head. For mirrors, set the rearview to frame the whole back window, and angle each side mirror so you see a sliver of your own car and the lane beside you. Make all adjustments while parked.
When should a driver avoid starting a trip because of a vehicle safety concern?
Do not drive if a tire is visibly flat or badly worn, if brake or headlights are out, if the windshield is cracked in your line of sight, or if a red dashboard warning light stays on after starting. Also stop or delay the trip if you find a fluid leak under the car or if steering or braking feels wrong. When in doubt, have a qualified mechanic inspect the vehicle before you drive.
What is the most common reason beginners fail a driving test?
Observational and control errors, such as not checking mirrors or blind spots, rolling through stops, and poor lane positioning, are frequent causes of test failure. A consistent pre-drive checklist helps because it builds the habit of adjusting mirrors and seat, checking surroundings, and confirming controls before moving. Rules and scoring vary by jurisdiction, so confirm requirements with your local licensing authority and practice with a supervising coach.
